

Introduction
Optimize your WordPress site’s speed and performance by using a paid caching plugin like WP Rocket. In this tutorial, we will show you the optimal settings for the WP Rocket plugin to help you get the most out of this powerful tool.
Installing WP Rocket

To start configuring the settings for WP Rocket, you need to install the plugin on your WordPress site. Follow these steps:
- Log in to your WordPress dashboard and navigate to the “Plugins” menu.
- Click on the “Add New” button to add a new plugin to your site.
- Click on the Upload Plugin button.
- Click on the “Install Now” button next to the plugin.
- Once the installation is complete, click on the “Activate” button.
Configuring Basic Settings

The first settings tab you’ll see when you open WP Rocket is the “Settings” sidebar. This is where you’ll find the basic settings for the plugin, including options for caching, database optimization, and lazy loading.
- Enable caching for desktop and mobile devices, as well as set the cache lifespan under the “Caching” section.
- Clean up and optimize your database for better performance under the “Database” section.
- Enable lazy loading for images and iframes on your site under the “Media” section. This will help to speed up the loading time of your pages by only loading images and iframes as they come into view.
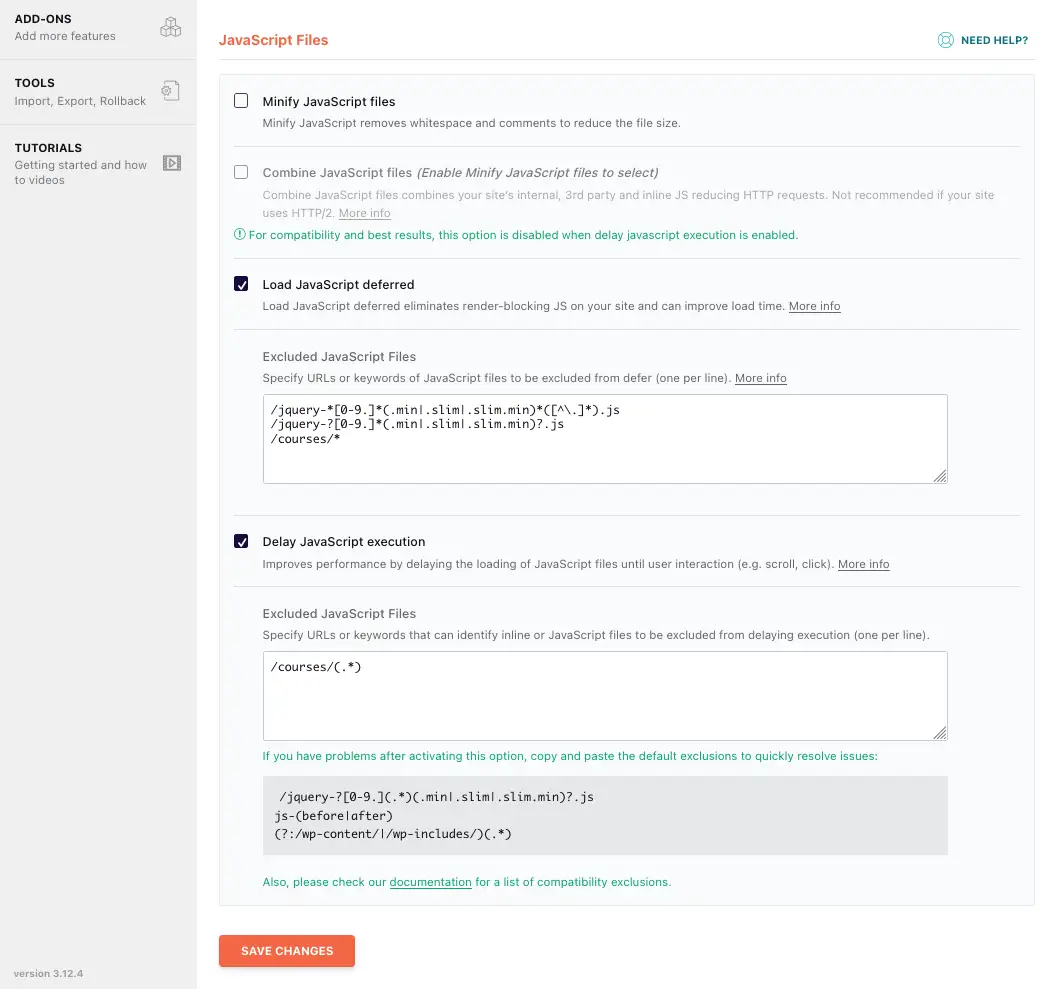
- Enable minification of CSS, JavaScript, and HTML to reduce the size of your files, and improve loading times under the “File Optimization” section.
Very important: Try these settings on a testing site first or at the very least, have a recent full backup of your website available. Some of these settings might break your theme.
Cache Preloading
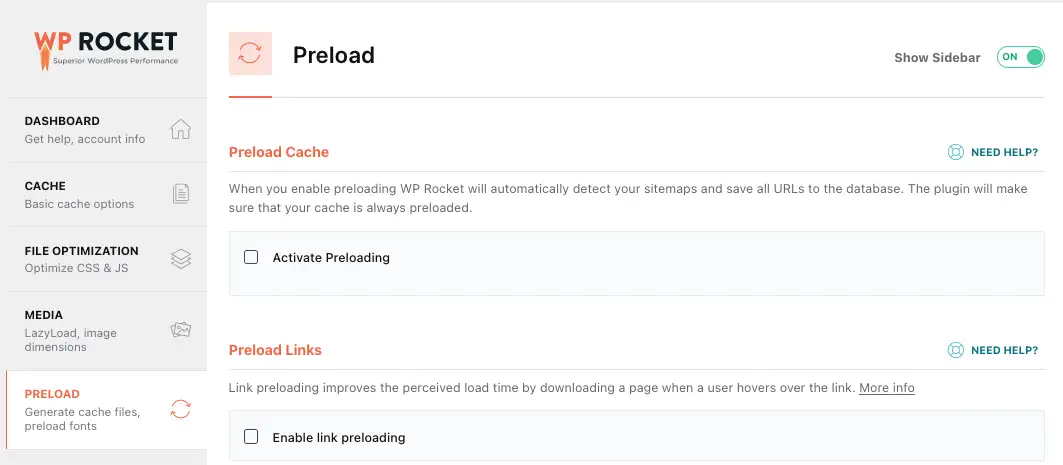
The “Cache Preloading” tab allows you to set options for preloading the cache, which can help to speed up the loading time of your pages.
- Automatically preload the cache for all the URLs in your sitemap under the “Sitemap” section.
- Preload the cache for your homepage and all internal links on your site under the “Preload bot” section.
- Prefetch the DNS for external domains, which can help to speed up the loading time of your pages under the “DNS Prefetching” section.
Media
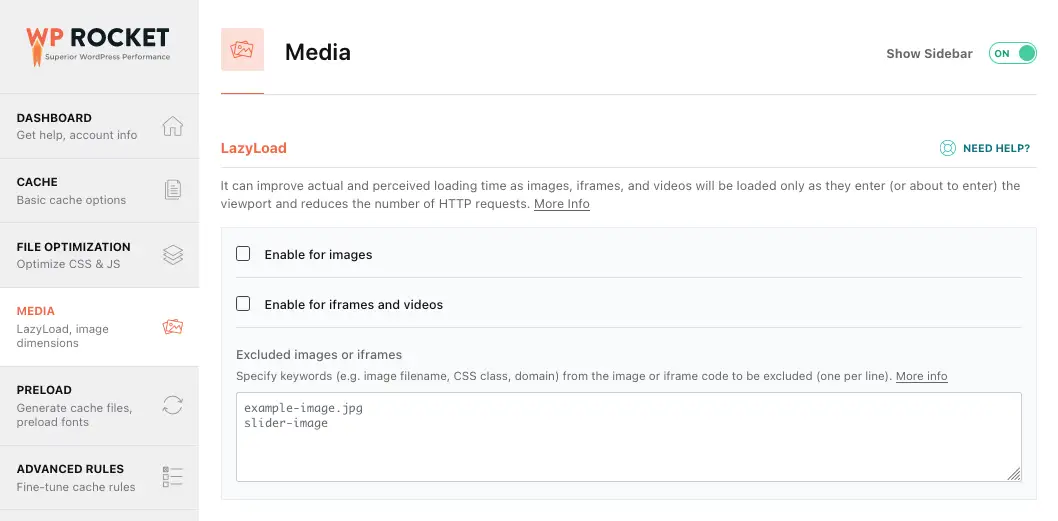
The “Media” tab allows you to set options for optimizing your images, videos, and iframes.
- Optimize your images and set the quality level for the optimization under the “Images” section.
- Lazy load your videos and set the quality level for the videos under the “Videos” section.
- Lazy load your iframes and set the quality level for under the “iFrames” section.
By following the above steps and settings, you will be able to optimize your website with WP Rocket plugin and improve your website’s performance and loading speed. We also prepared a video on YouTube, which has a live demo of the settings shown here and how it improved performance scores, from 60 to 86!